This is an instruction sheet to help you write basic articles on the website. You can choose to start with a blank slate, or use the pre-made template here. Either way, you will want to be familiar with the elements below to customize your article.
Reach out to Audrey if you need help.
Basics
The URL you need is: episcopaleurope.org/wp-admin. Bookmark it!
You will need a username and password. Contact Audrey if you do not have one. Please do not share this.
When in doubt, hit “save” at the bottom of the page and do not publish, contact Audrey for a second opinion, and we’ll work on it together.
Getting Started
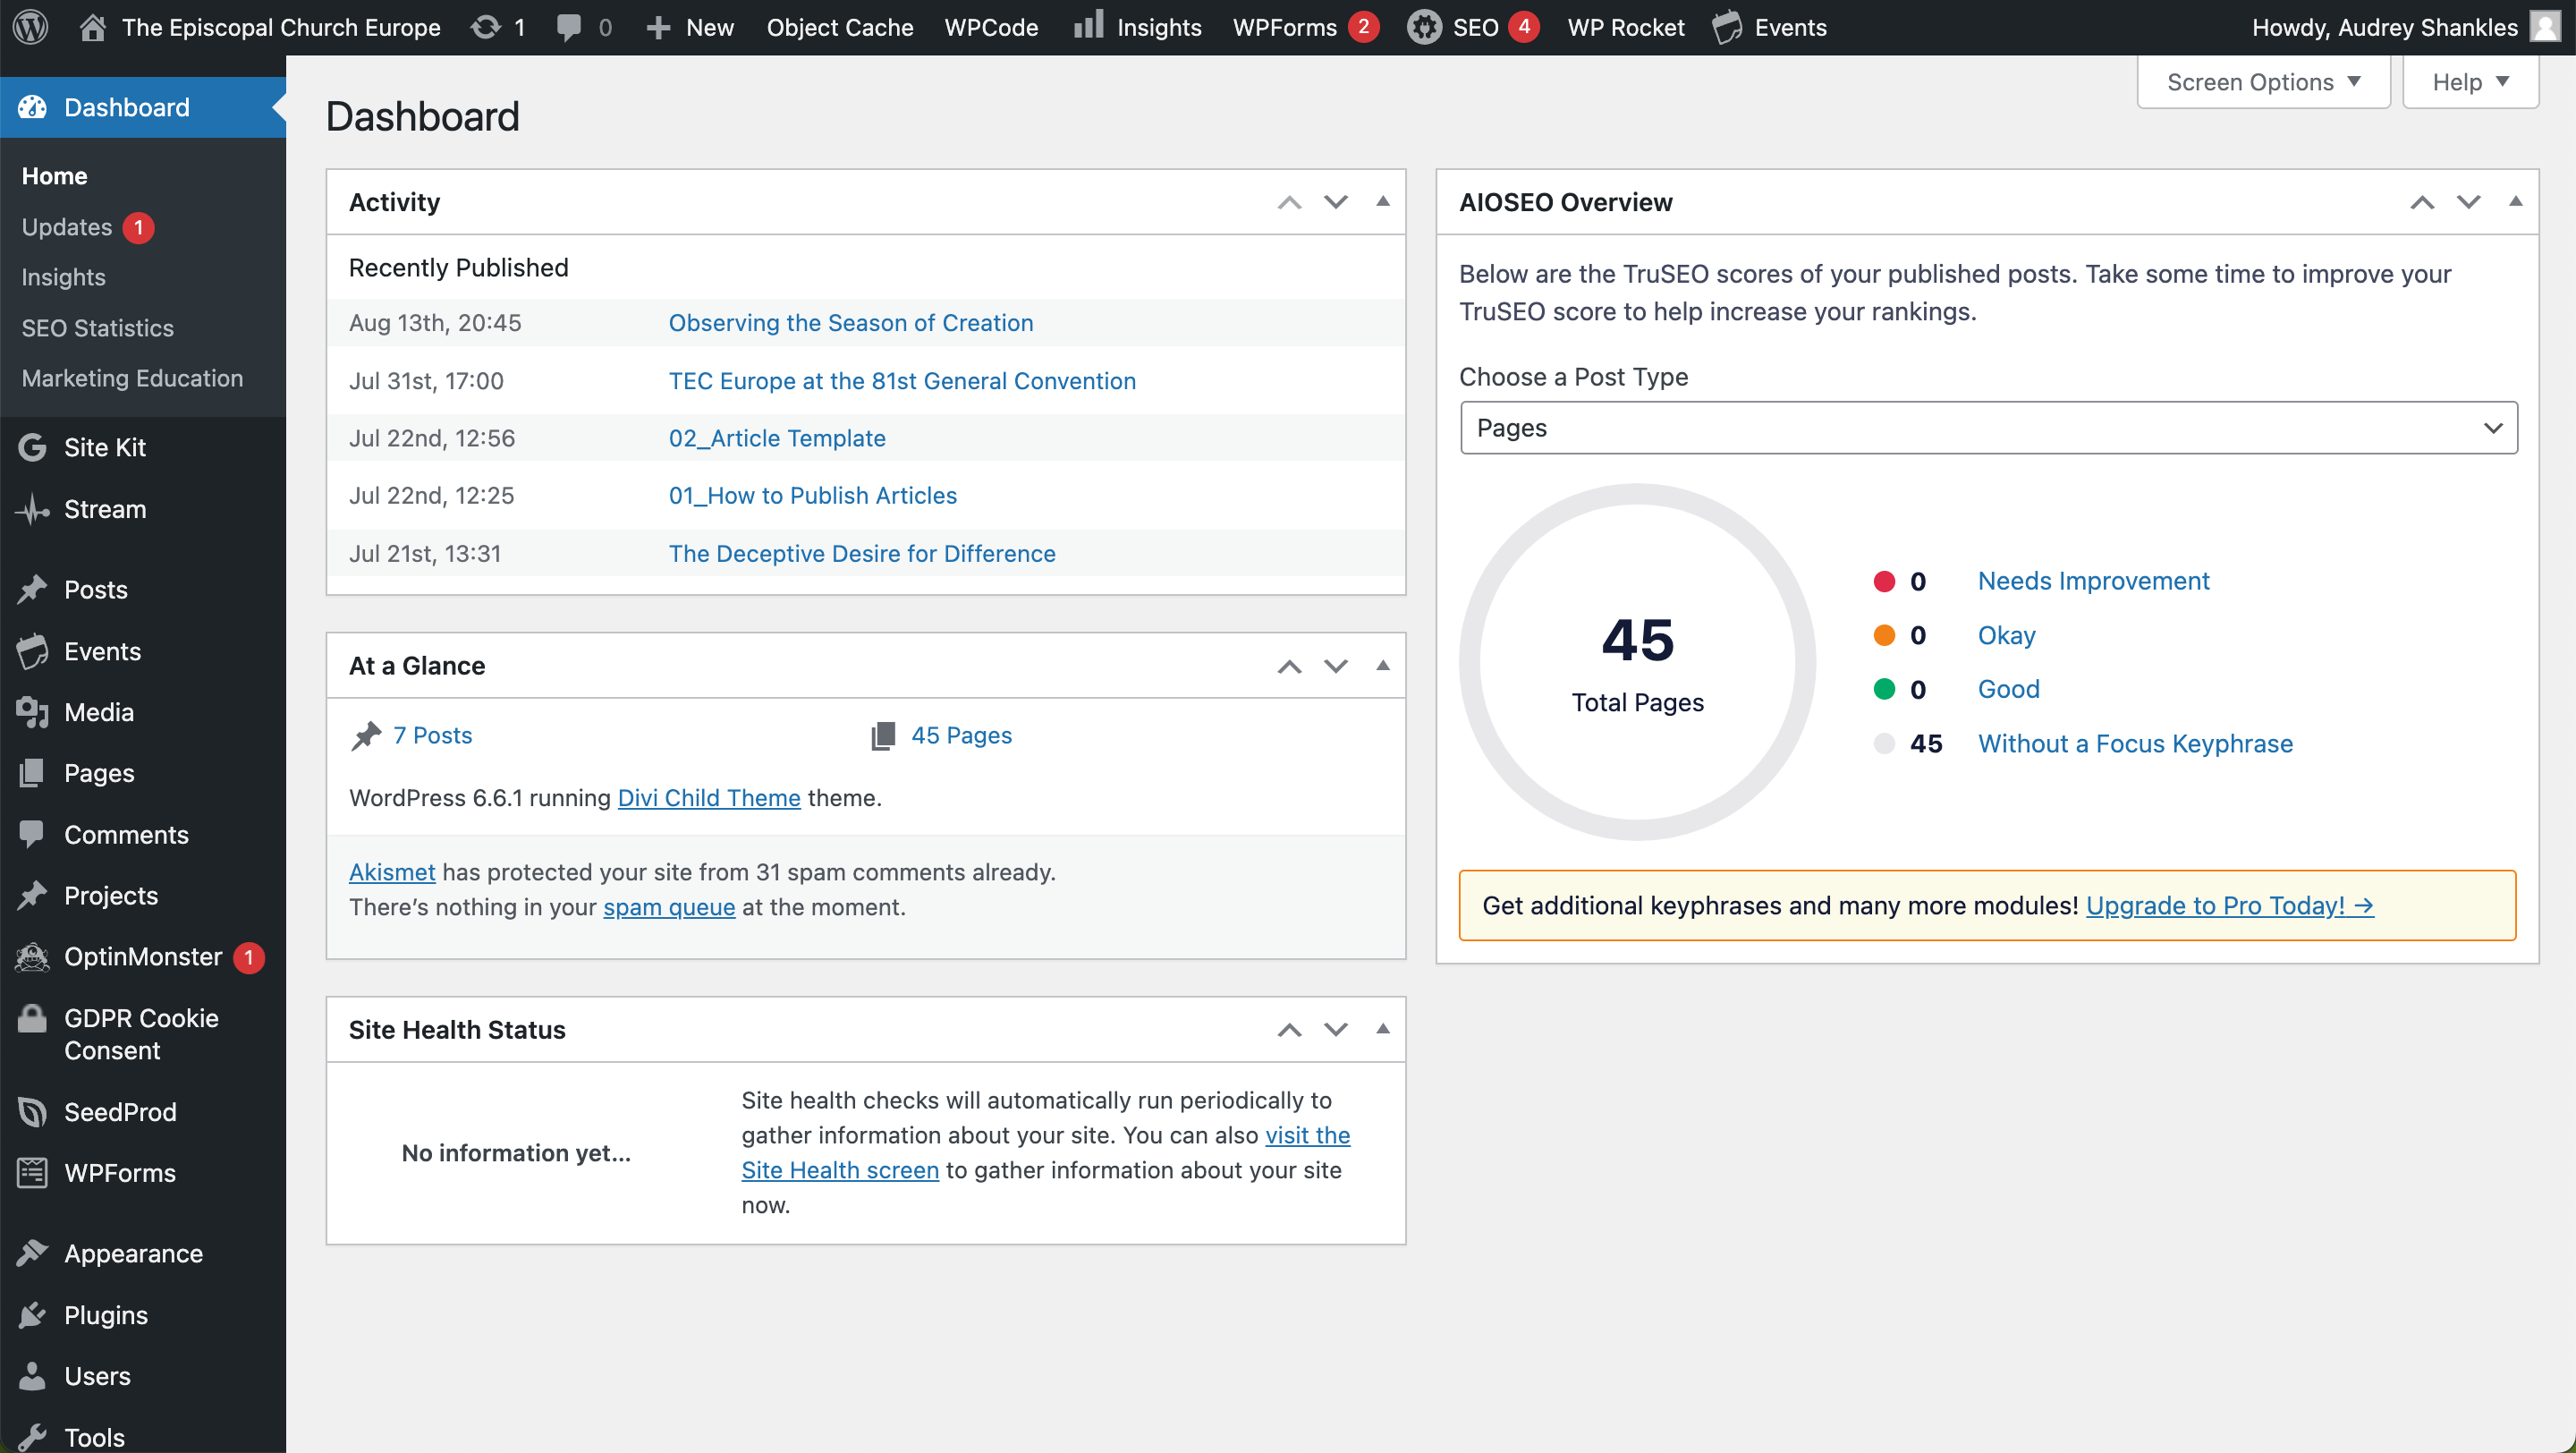
After logging in, you will see this Dashboard. For our purposes, we can ignore everything on this first screen.

Creating an Article from the Template
Navigate to the Posts Dashboard from the left-hand menu and find the Article Template. Copy it and begin making your changes (scroll down for more).

Creating an Article from scratch
Click “Add New Post.”
Hold your cursor over the different sections to see the different editing and layout options. When you see the black outline, you know you have selected the correct module (ignore blue and green outlines, use only the black).

Editing, Moving, Deleting and Adding Modules
Click and drag on the 4-point arrow to move your module up and down the column on the page (green below).
You can also copy and paste your exact content (purple below).
Click the trashcan icon to delete a module (orange below).
Click the + at the bottom of the module to add a new module (blue below) (we are currently only using Image or Text).

Types of Modules We Use
We use 3 types of modules for articles:
- Heading (use tagging H2 for subheadings to divide up sections)
- Text
- Image


Editing Text
The text modules have been set up to display in the correct color, font and weight. Please do not change basic font settings (bolding or italics are ok) or colors (text or background).
Click on the text itself to begin typing, OR you can use the editing options found in the settings wheel (in orange below).
Clicking the settings wheel brings you to this section. Here you can use the quotes function, bold or italics, and edit or write text directly in the builder editor.

Images
Images which are wide-screen aspect ratio (16×9) will display the best. The recomended dimensions for these images are 1080x610px.


Saving vs. Publishing
Saving and publishing are different functions. It’s always a good idea to save frequently; your article won’t be seen by anyone until you publish.
If you need to leave your work, you can find your saved article in the Posts Dashboard as a Draft.

Finalizing and Publishing
Once your article is published or ready to be published, we need to tag it appropriately so it shows up on the correct news section. Each Ministry Area has its own news page and own Category Tag. Tagging your article with the correct tag will automatically make it show in that Ministry Area news section.
CAUTION: every article is automatically tagged as Uncategorized. Make sure to un-check this box!

Metadata
Other items to look over before finalizing:
- Title – if you did not change it in the steps before, now is the time!
- Slug – the slug is the text in the URL. This is added automactially. Give your article a slug that makes sense and use the dash ( – ) to separate words.
- ie. an article about “Children and Youth go to the Fair” could be “CYC-at-the-fair-Frankfurt-2024”
- Date – if having this article reflect a certain publishing date is important, go ahead and change it here.
- Author – sometimes we want to assign a different author. Use this dropdown to select someone else. If you do not see who you need, contact Audrey
- Tags – put in some appropriate words that someone might use to search for this piece of information. Tags can be two words, a comma separates a tag so “cats, white cats, big cats, kittens” is 4 tags.
